


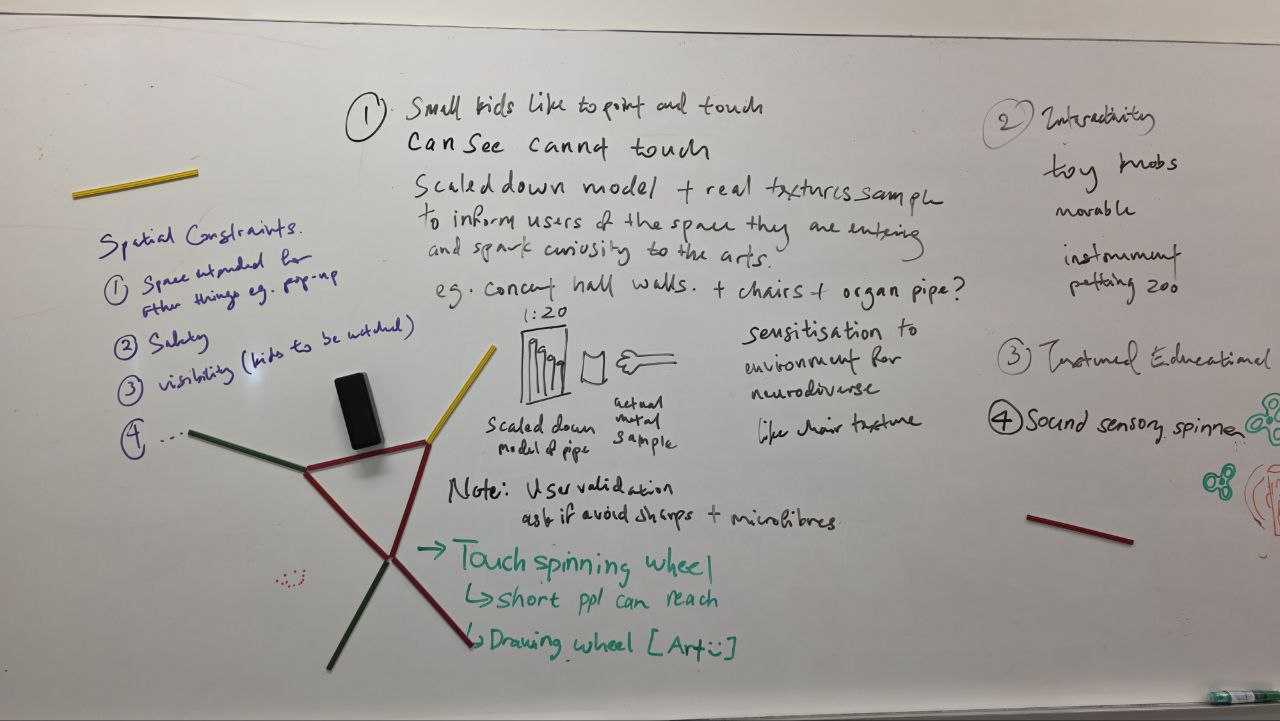
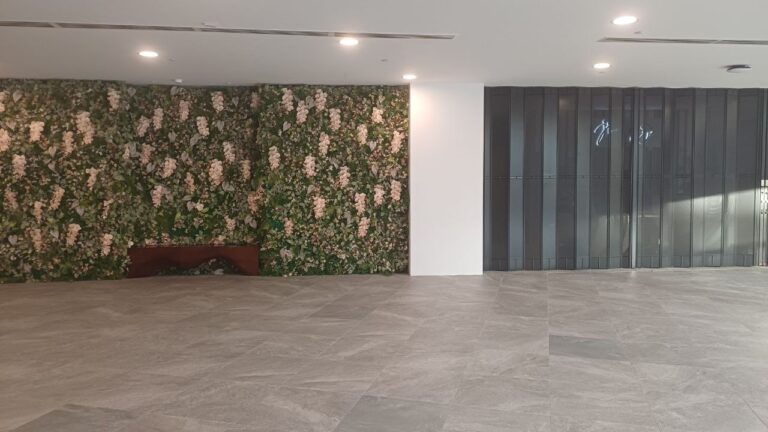
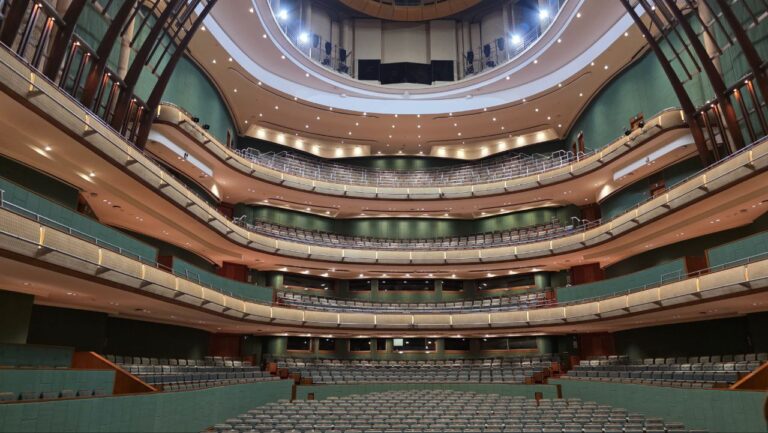
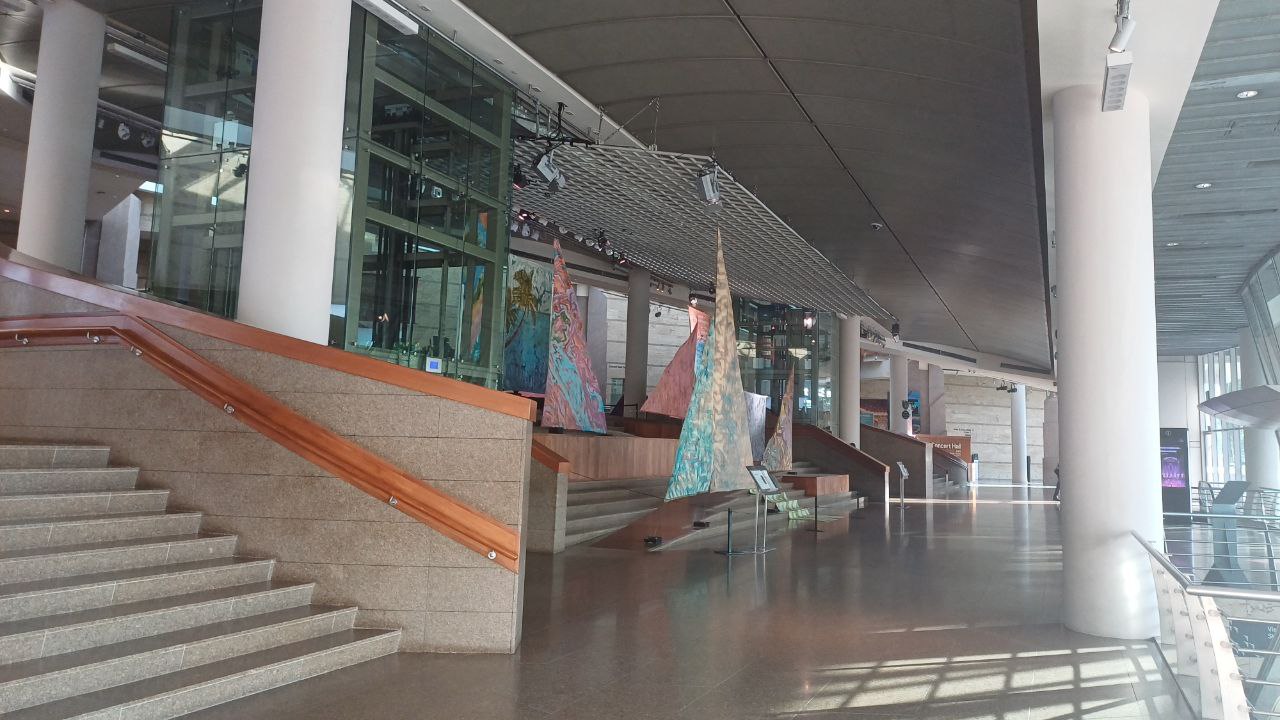
During the ideation phase, our team conducted a site visit to Esplanade to better understand the spatial layout, user experience, and existing accessibility features within the venue. Observations from the site visit, together with our background research and information gathered from, focus group discussions with relevant communities informed an ideation sprint where we explored areas that could be improved to enhance accessibility. We organised our ideas into three key categories: performance, wayfinding, and environment. Through brainstorming and discussion, we identified potential barriers experienced by visitors and generated a range of concepts that could improve inclusivity within the space. This process allowed us to evaluate different possibilities and refine ideas that could better support diverse sensory and accessibility needs at Esplanade.

During the Define Phase, our team synthesised insights gathered from our research and earlier ideation activities to identify key accessibility challenges within Esplanade. We focused on how sensory elements within the performance environment—such as lighting, sound, and spatial complexity—may affect visitors, particularly those who are neurodivergent. From these insights, we developed our guiding problem statement: How might we design sensory experiences at Esplanade that allow neurodivergent individuals to comfortably meet their sensory needs? This problem statement helped us narrow our design focus and guided the development of solutions aimed at creating a more inclusive and supportive-theatre going experience.
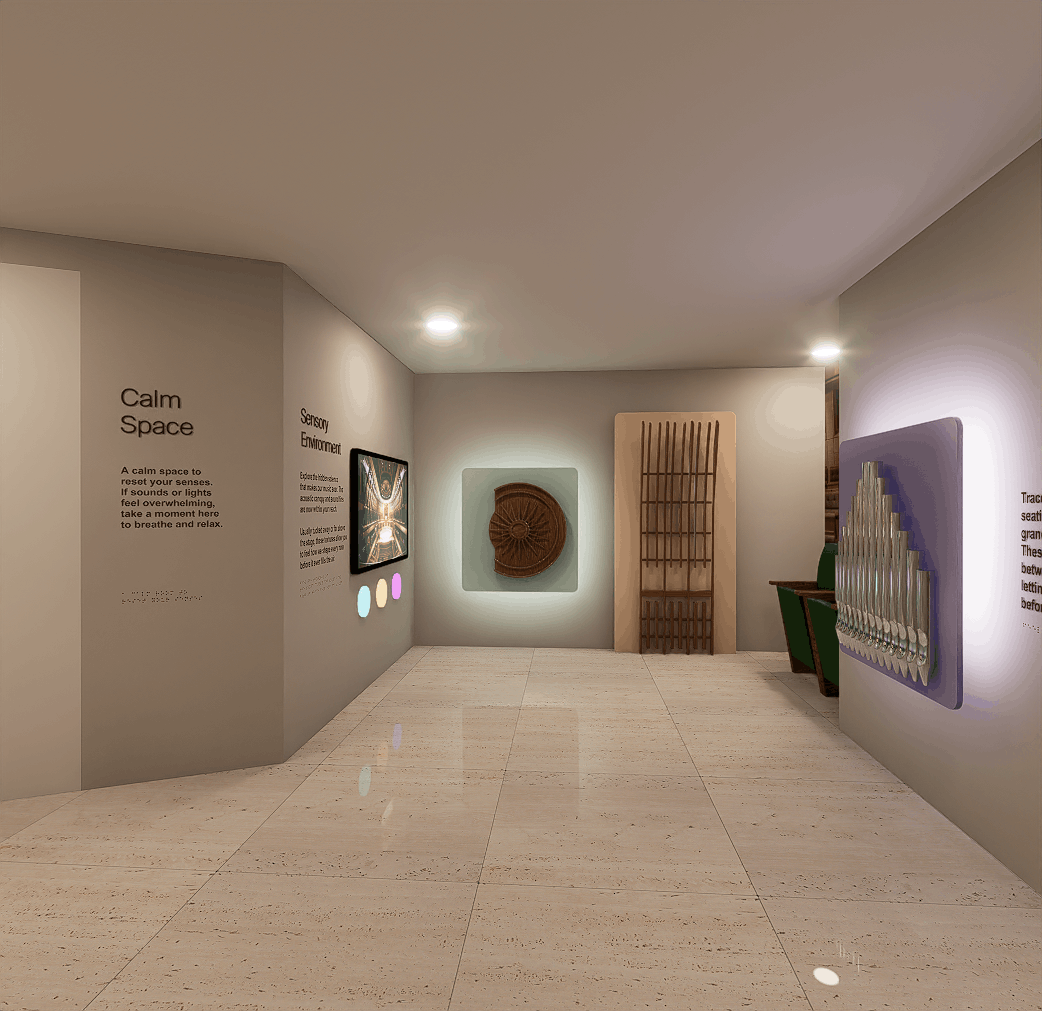
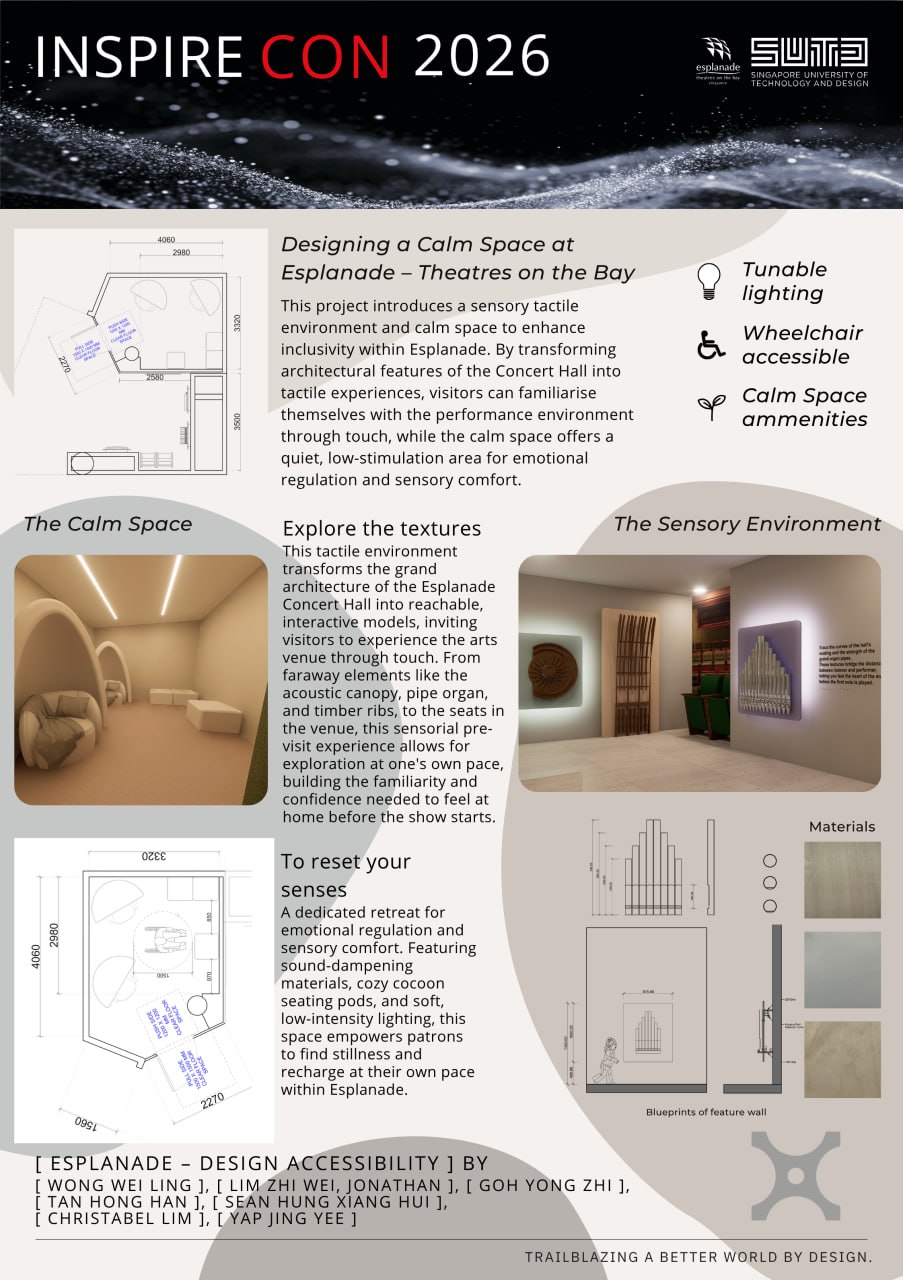
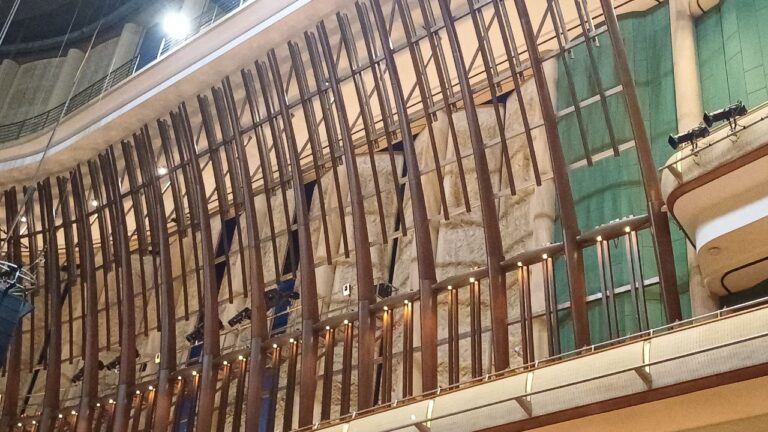
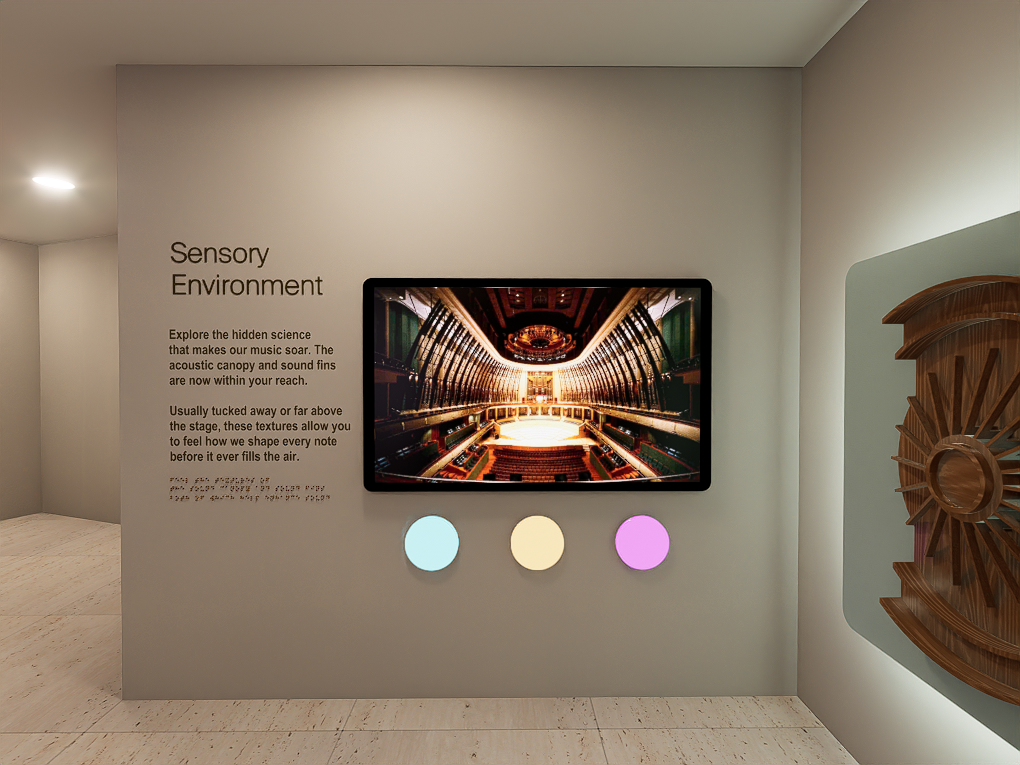
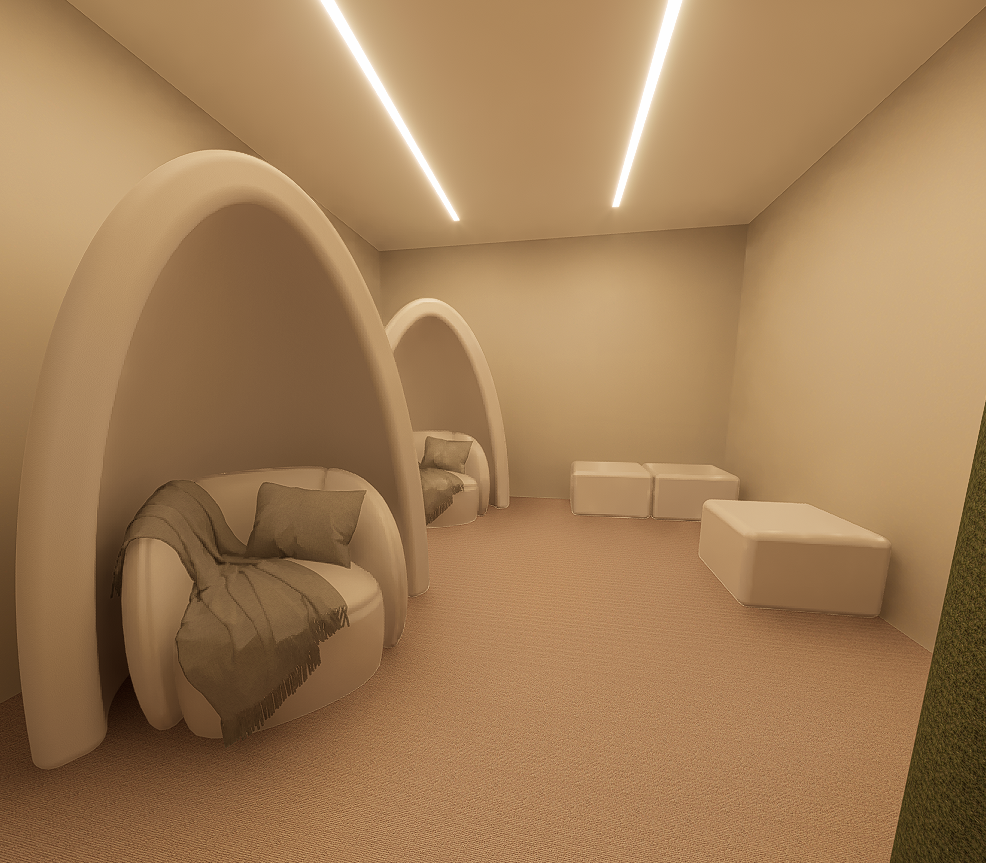
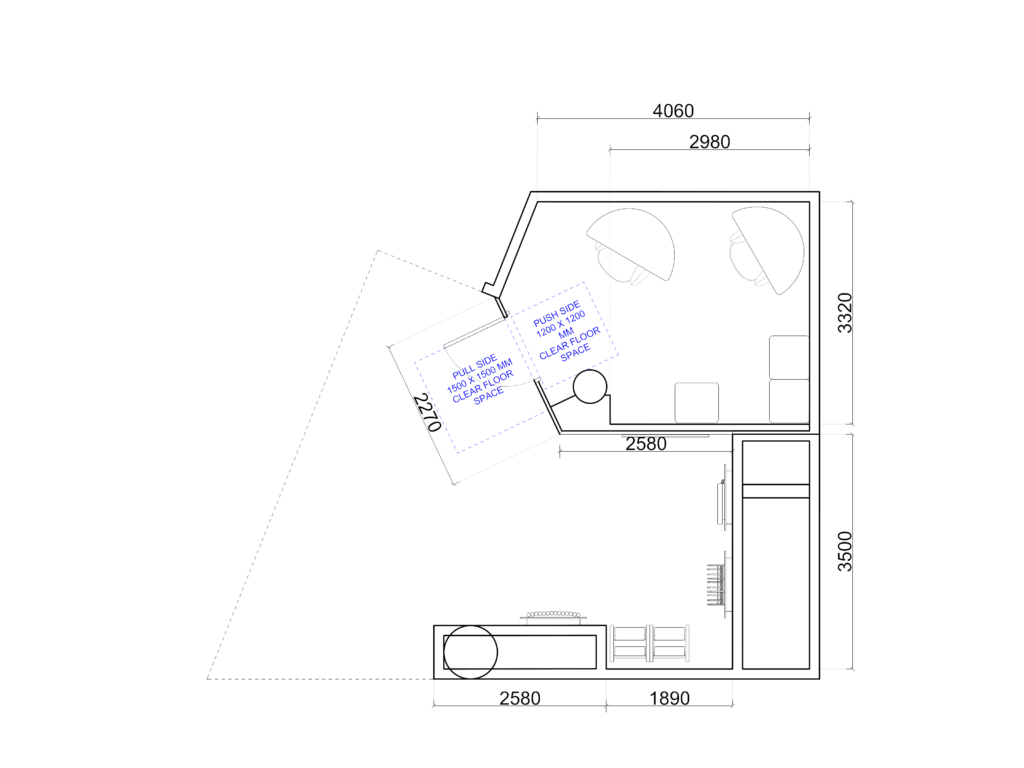
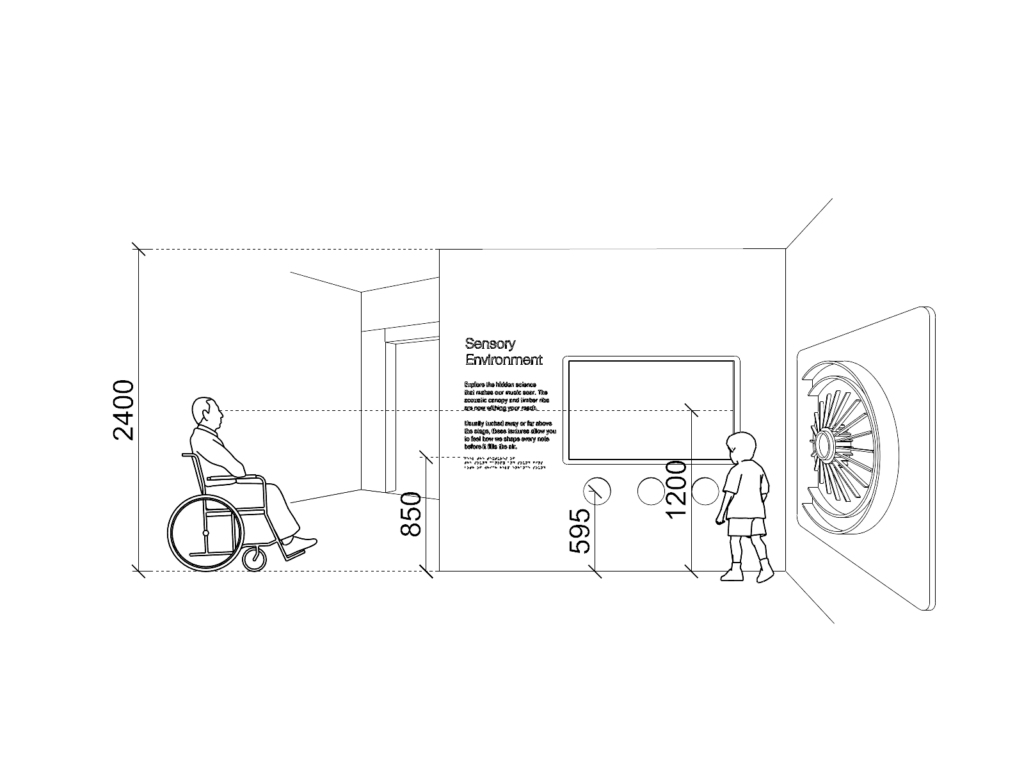
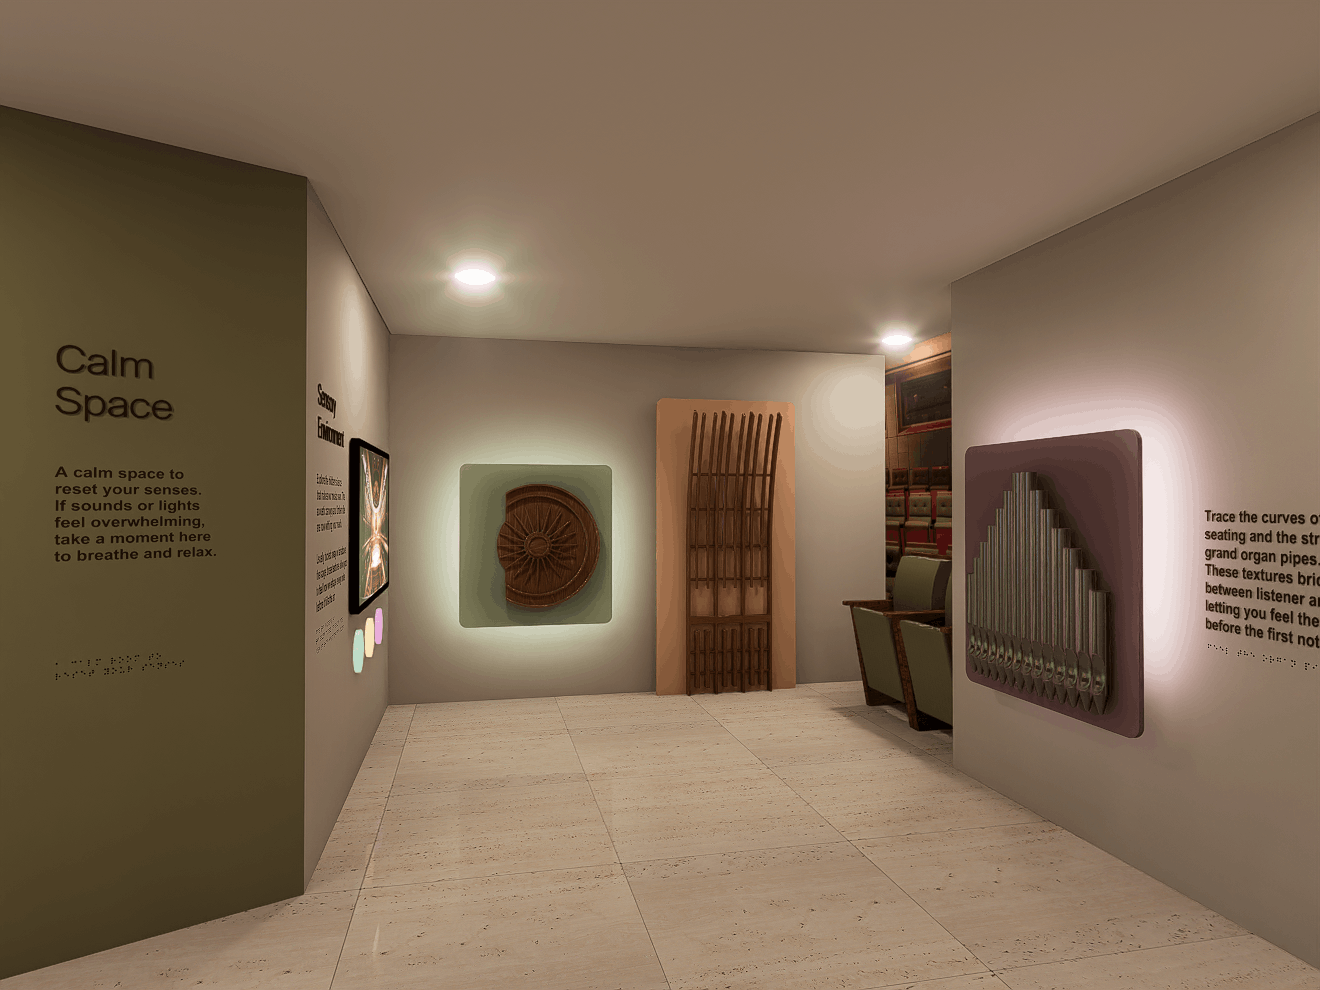
During the solution phase, we developed a design to enhance sensory accessibility at Esplanade. The proposal introduces a sensory tactile environment that translates selected architectural elements of the Esplanade Concert Hall into tactile textures for visitors to explore. Alongside this, a calm space provides a quiet, low-stimulation area where individuals can rest and regulate their senses. Together, these interventions aim to create a more inclusive theatre-going experience for neurodivergent visitors.

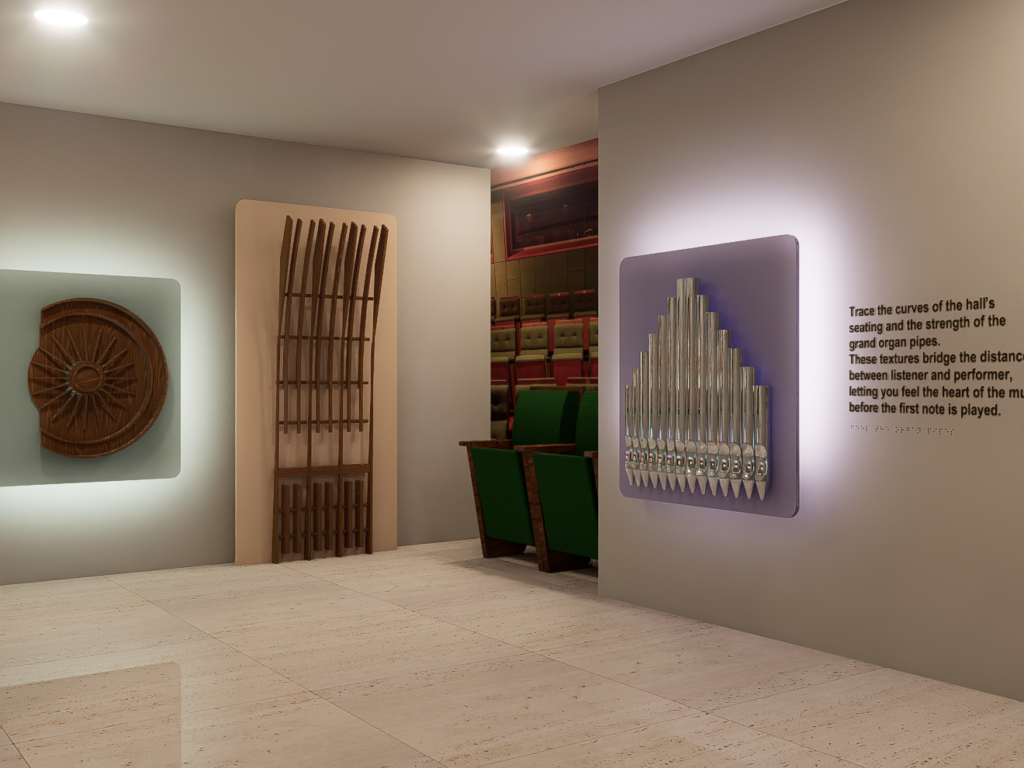
To support a more inclusive experience at Esplanade, our project proposes the design of a sensory tactile environment and a calm space that cater to diverse sensory needs, particularly for neurodivergent visitors. The sensory tactile environment translates selected architectural elements of the Esplanade Concert Hall into tactile forms that visitors can explore through touch, helping them better understand and connect with the space. Complementing this is a calm space that provides a quiet, low-stimulation environment where individuals can rest and regulate their senses when feeling overwhelmed. The development of this proposal was informed through consultations with accessibility experts, iterative prototyping, and visual exploration of the final design.

Our interview with the Disabled People’s Association (DPA) provided valuable insights into designing for neurodivergent users. Key challenges highlighted include a lack of public awareness and the impact of crowds and sensory overload. DPA emphasised the importance of separating stimulating and calming spaces to prevent conflicting sensory needs, as well as carefully curating materials to avoid overstimulation. They also recommended limiting the number of sensory elements within a space, using soft and non-triggering textures, and ensuring clear transitions and easy exits for users. Overall, the insights reinforced the need for thoughtful, user-centered design that prioritises comfort, flexibility, and sensory regulation.
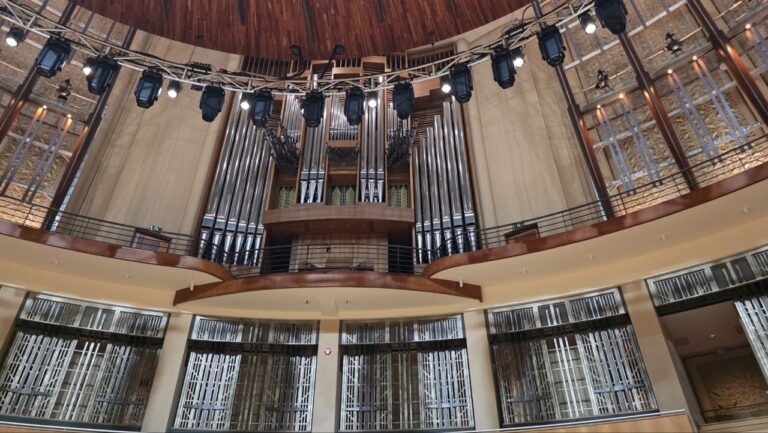
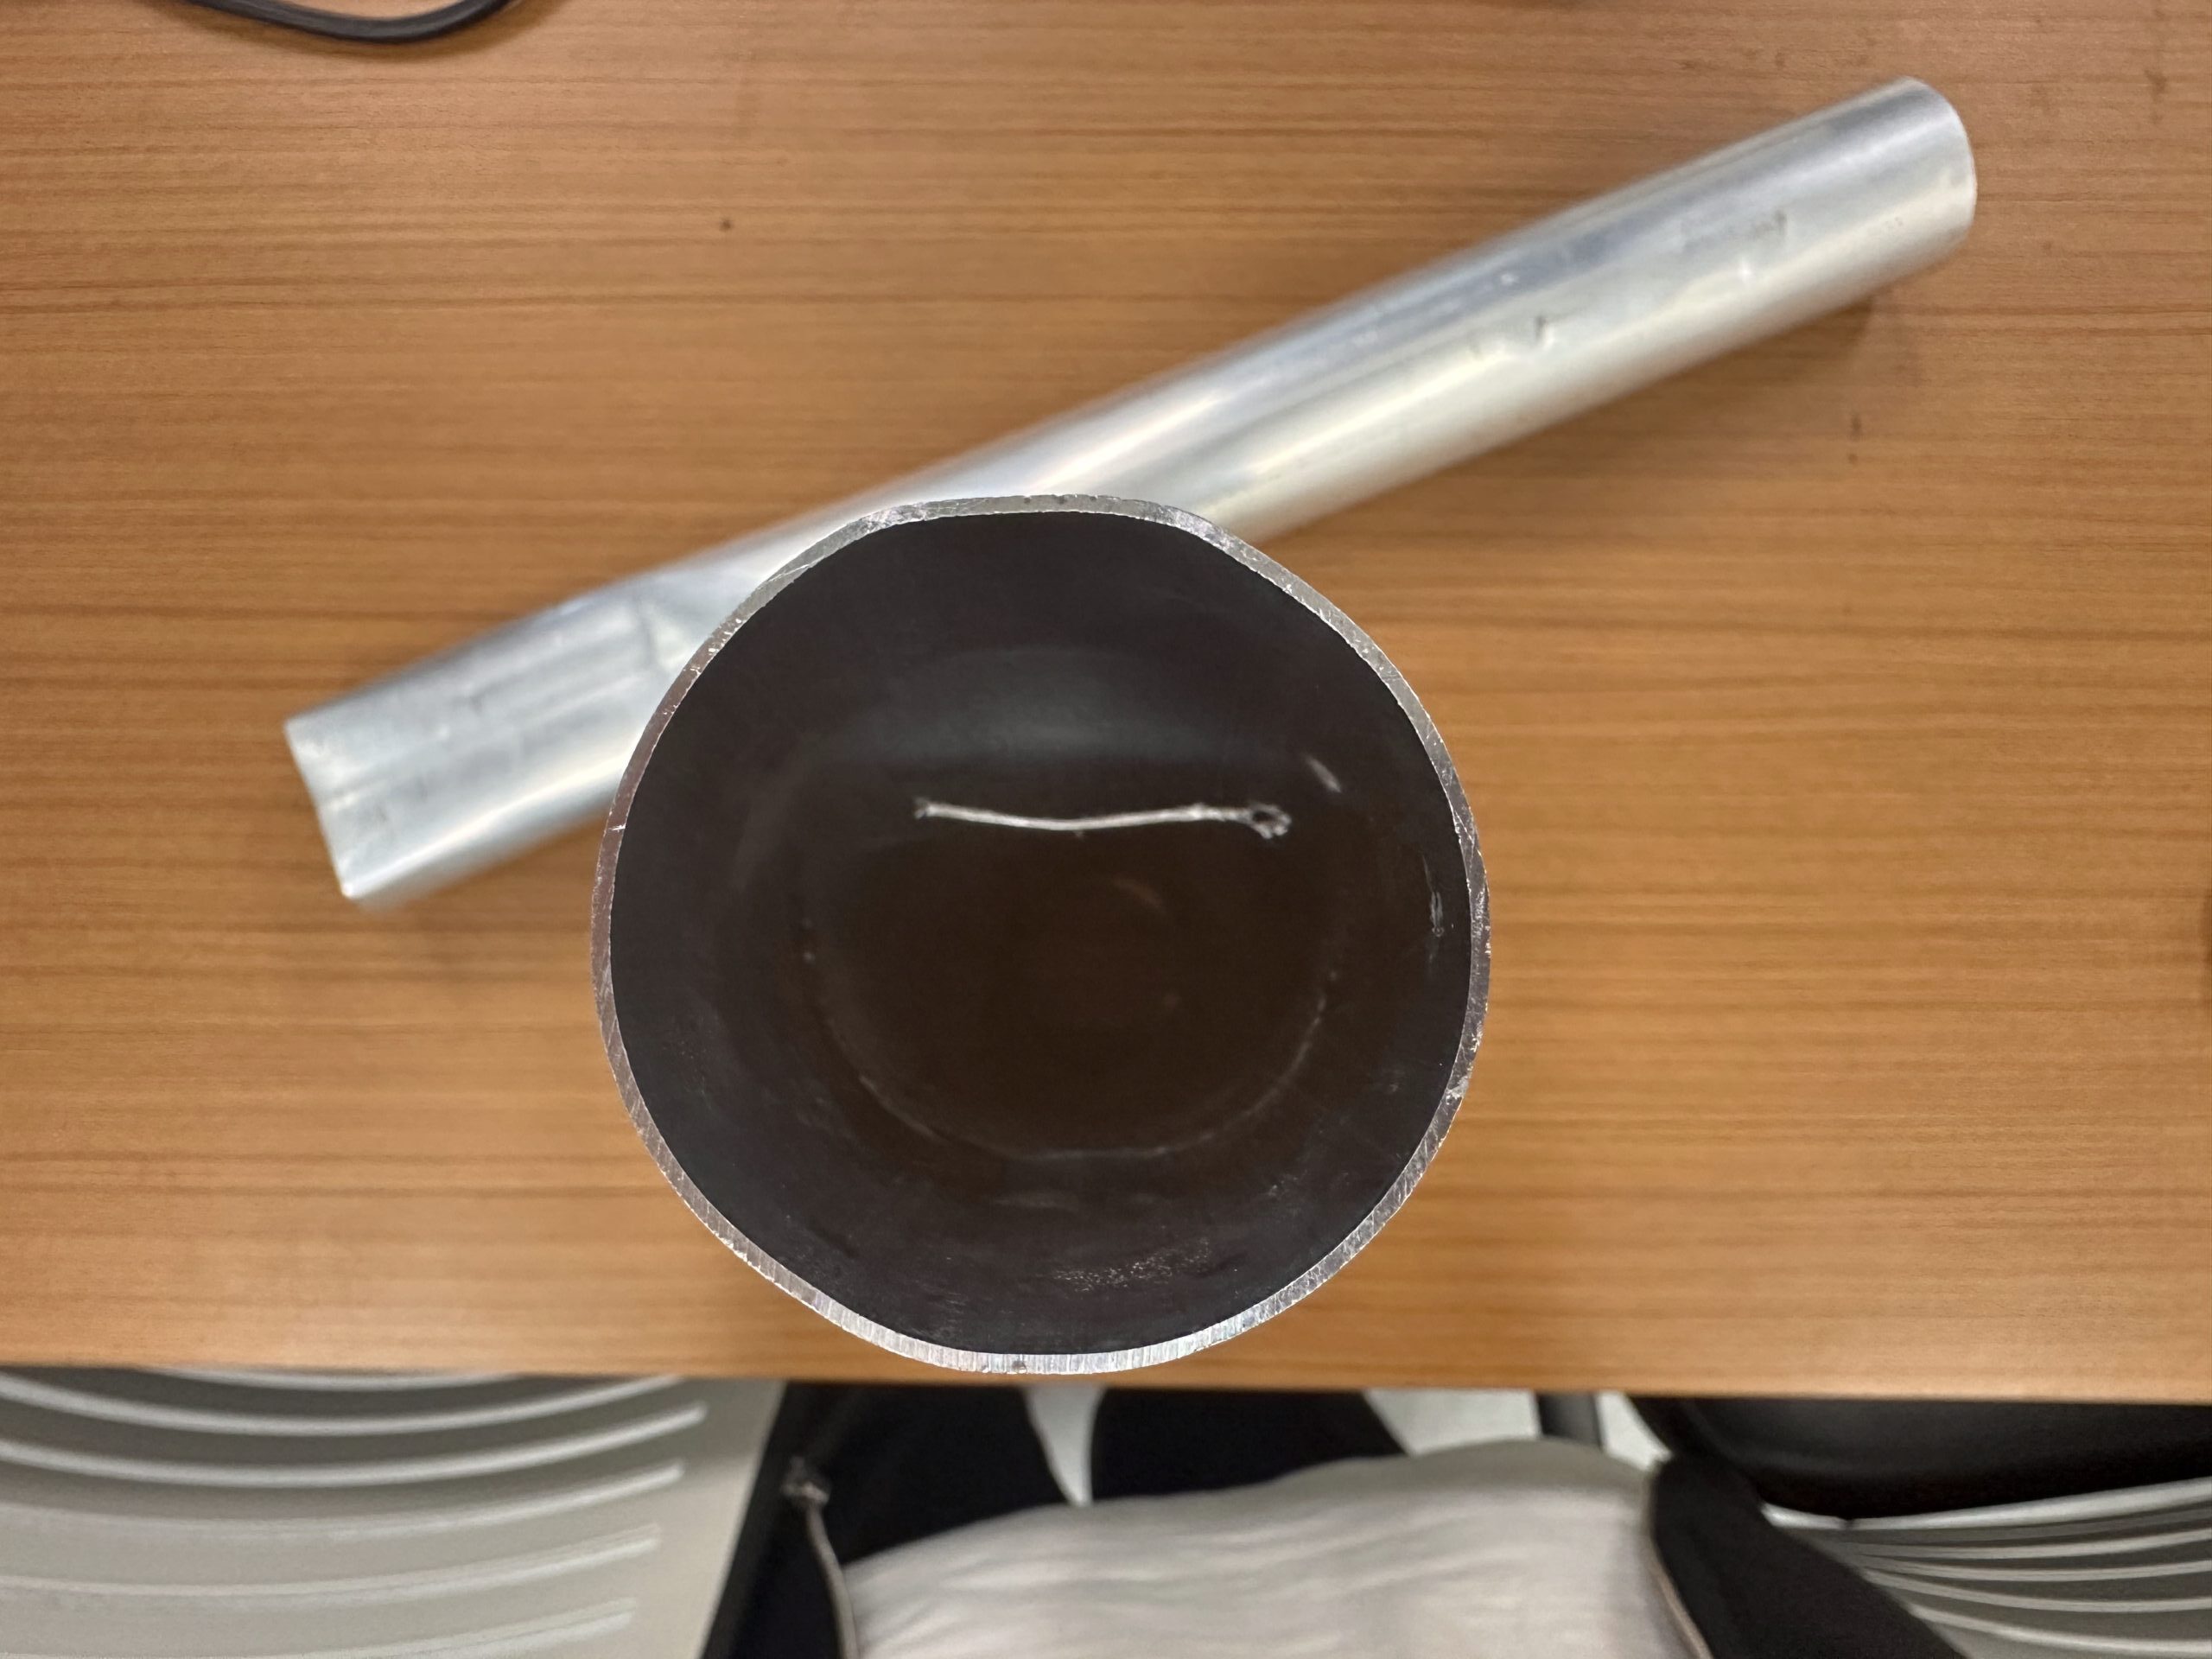
Prototyping the Organ Pipe Module
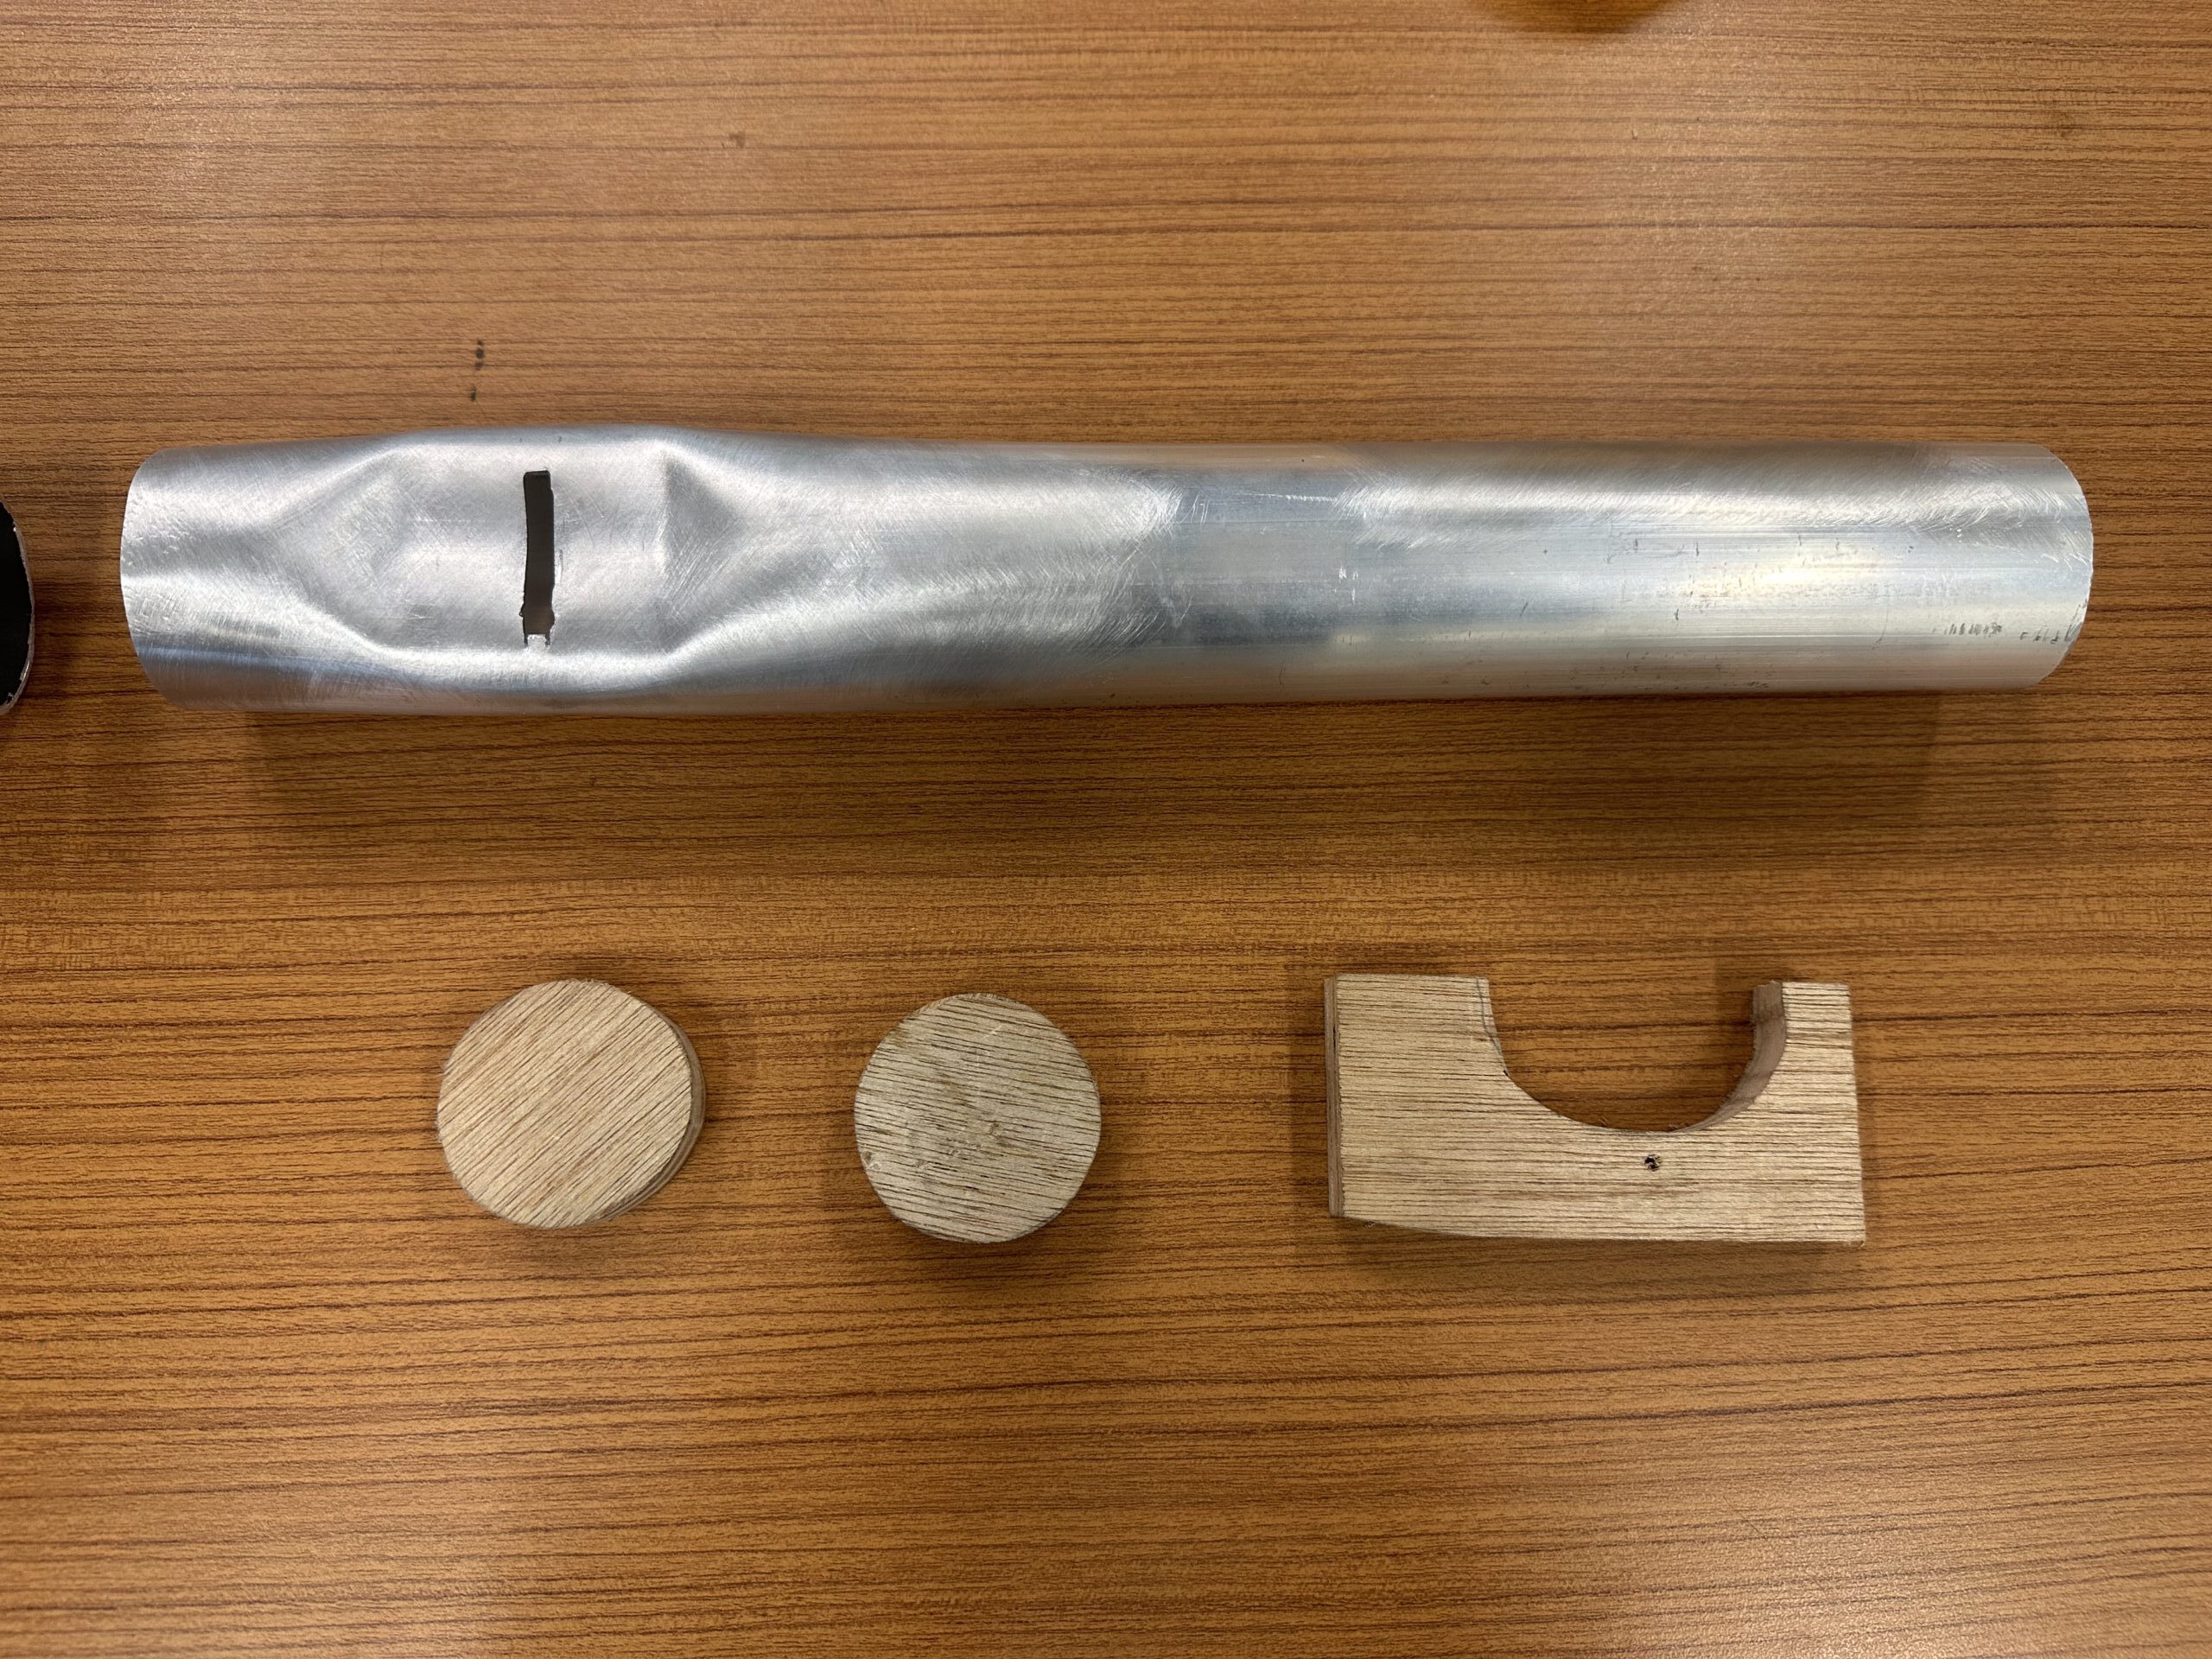
Developing the pipe organ module required several rounds of prototyping to perfect the metal-molding process. Our initial idea was to mechanically meld aluminium pipes, in order to achieve the repeatable complex curves required. Our first attempt involved directly placing the pipe in a mechanical bench vice, but we found it nearly impossible to restrict the extent of bending to only the areas we wanted. In our next iteration, we utilised wooden formworks cut in a rough approximate to the curvature we wanted for the curves. This controlled the extent and curvature of the curve was better than the first attempt. However, we ran into the issue where the metal compressed outside the area outside the curved zone.
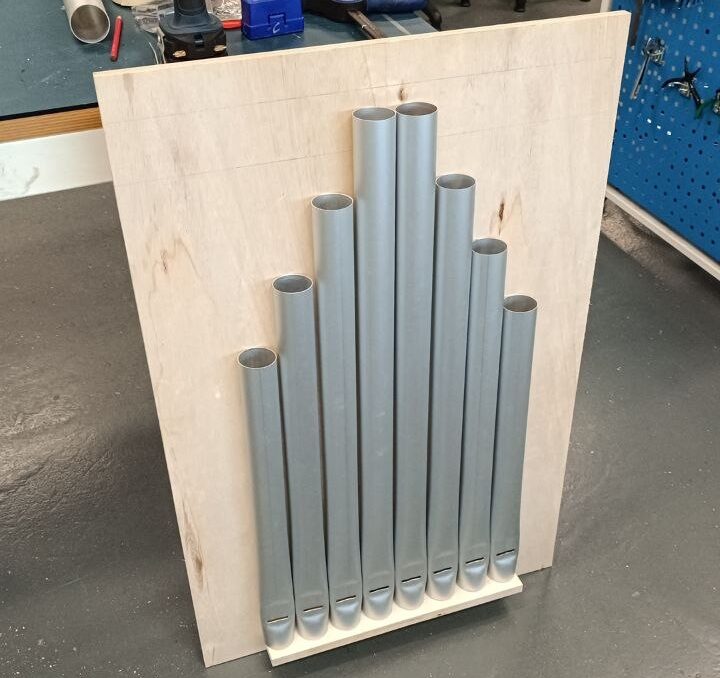
To solve this, we experimented with wooden plugs to serve as formwork on the inside of the pipe, to prevent the metal pipe from caving in on itself. This proved successful, and the combination of external formwork with internal plugs allowed the metal pipe to take the desired shape. More importantly, this process was not only fast, taking about 20 seconds per pipe, but also repeatable across all eight pipes. This simple yet effective jig allowed us to achieve the precise, high-quality finish required for the final installation.
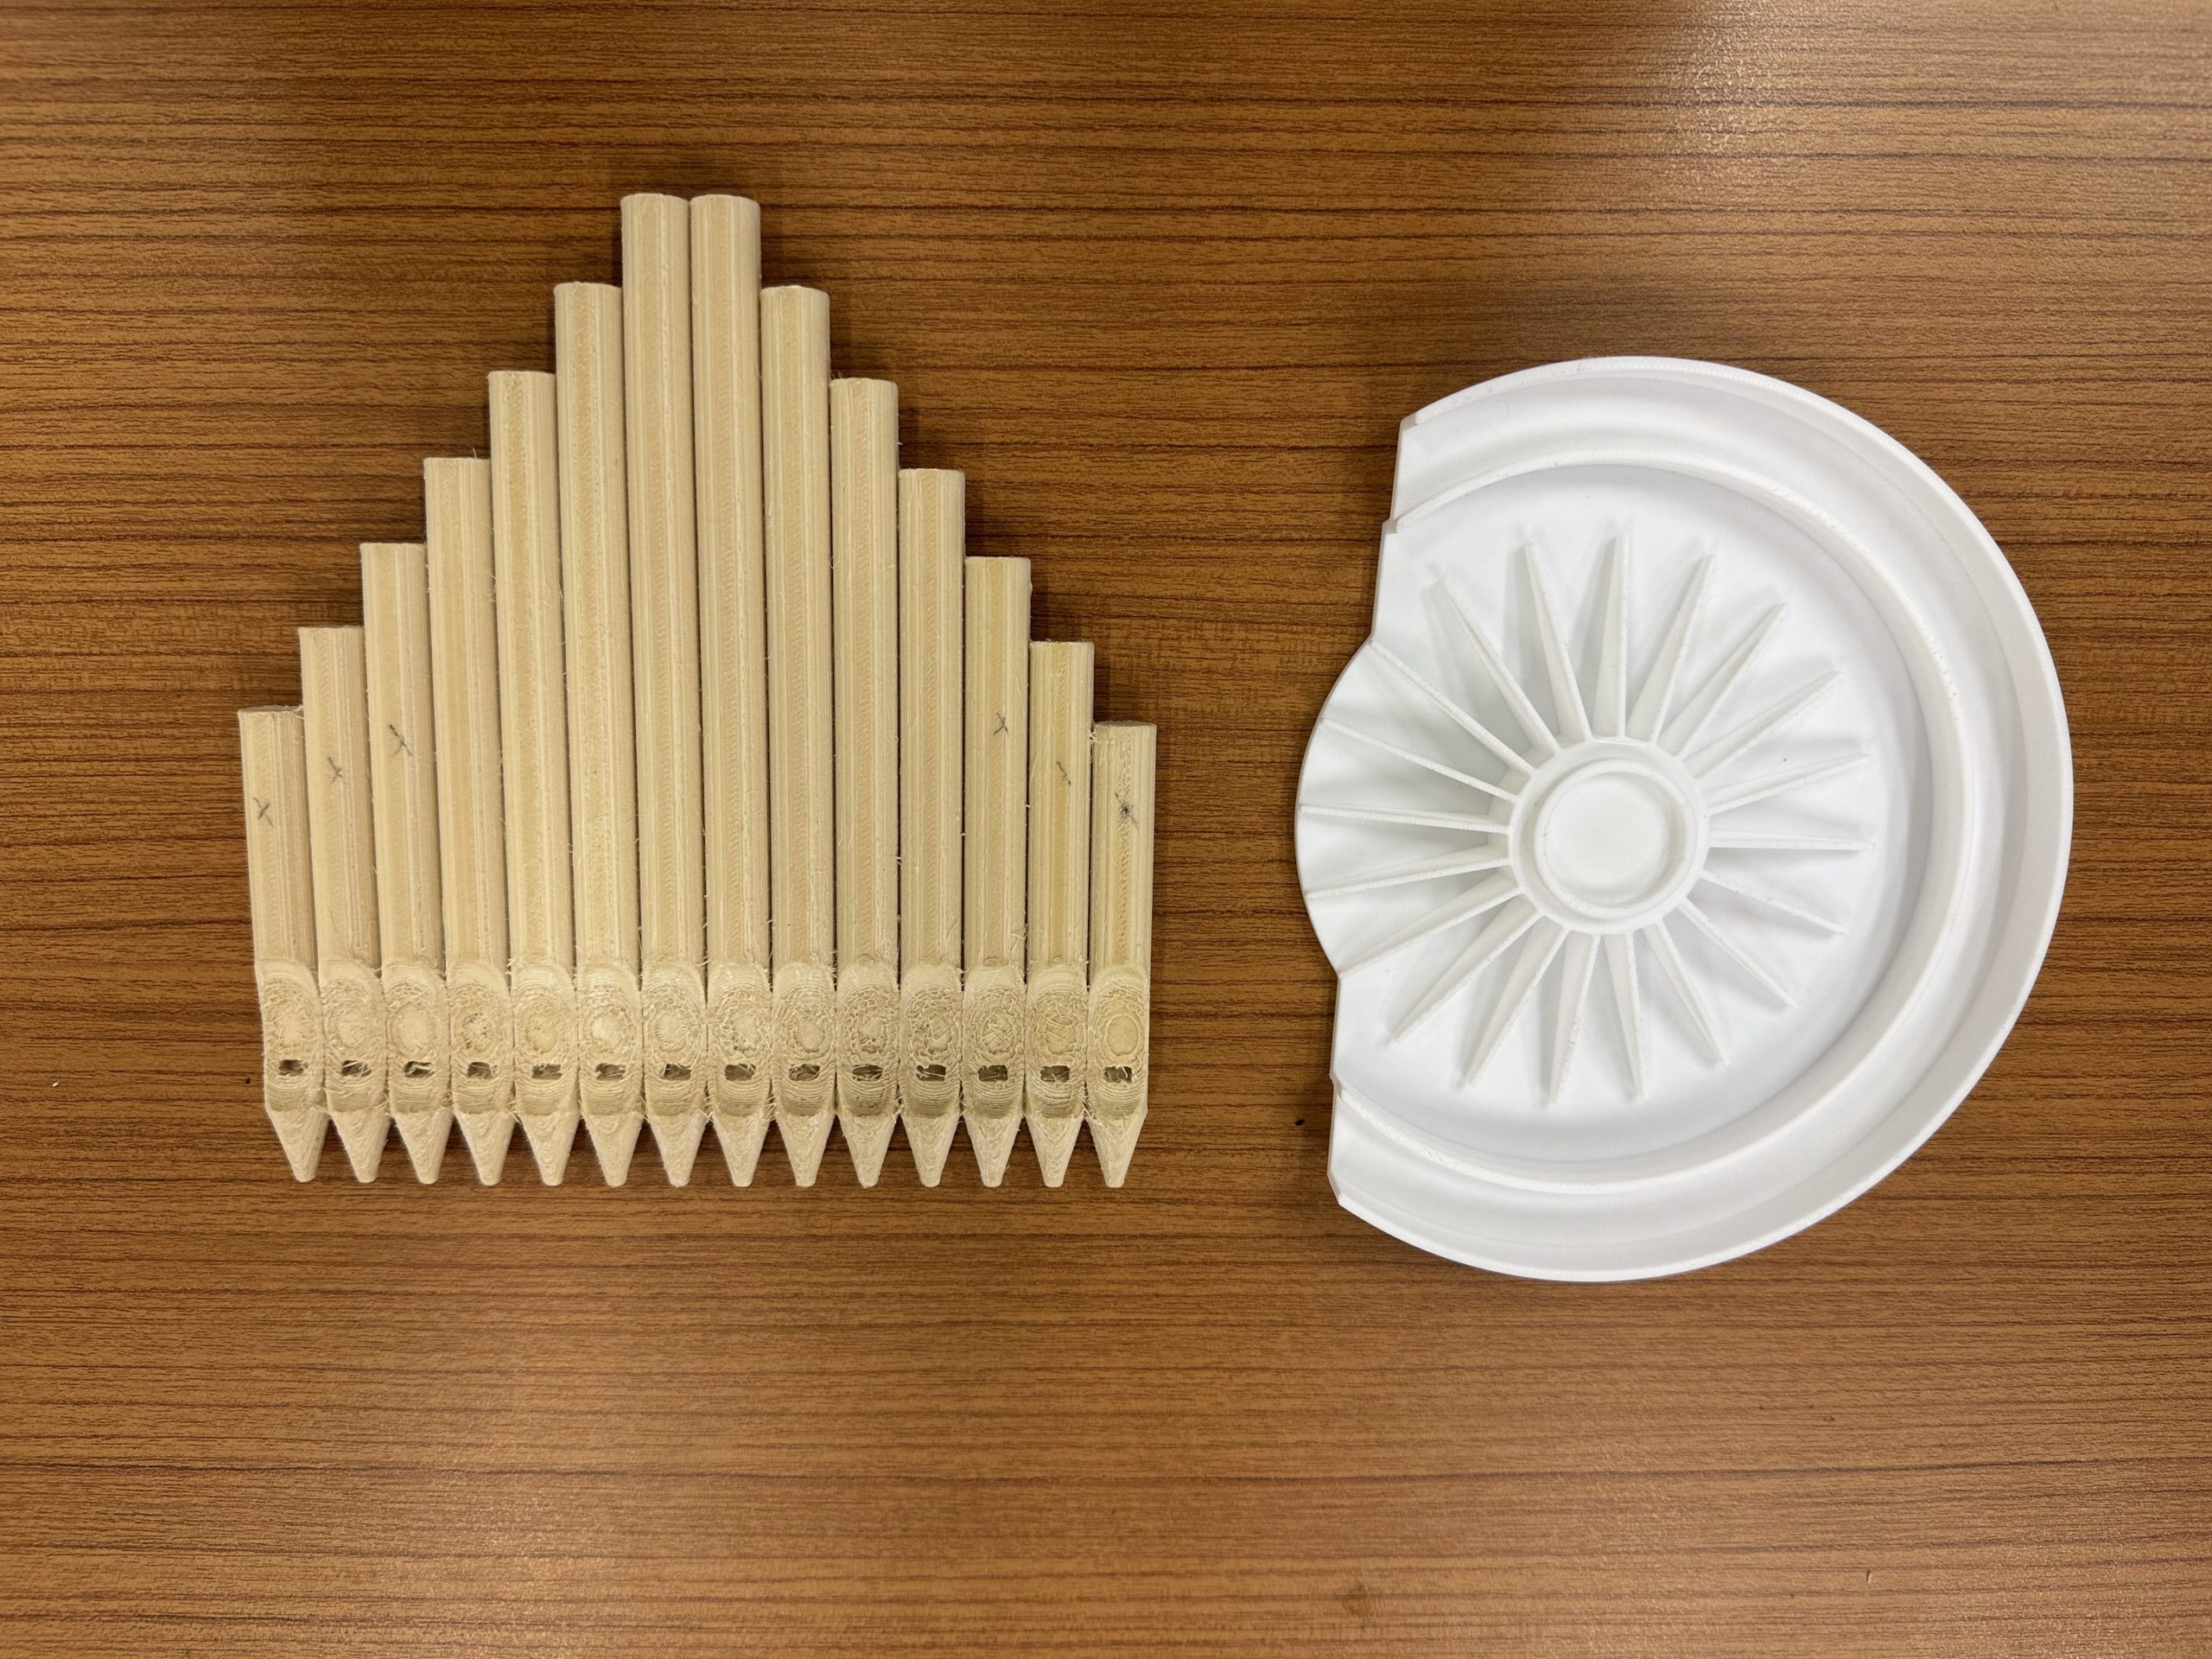
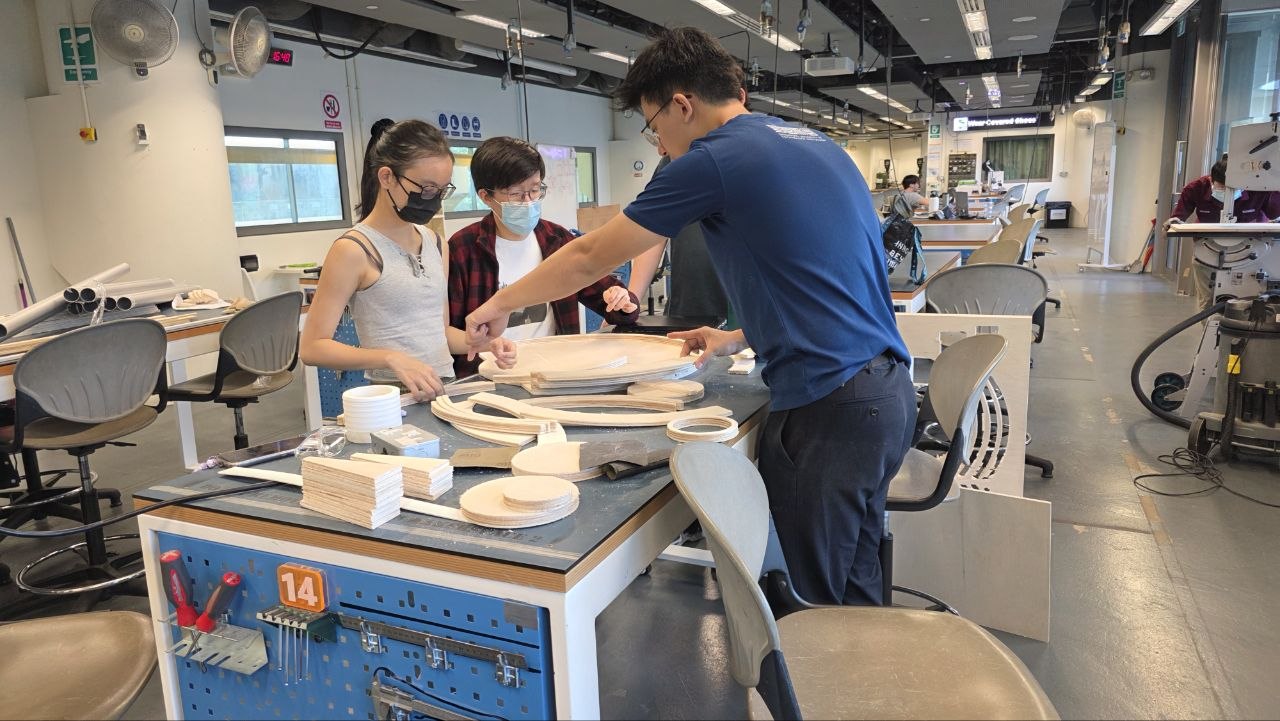
Prototyping the Sound Canopy
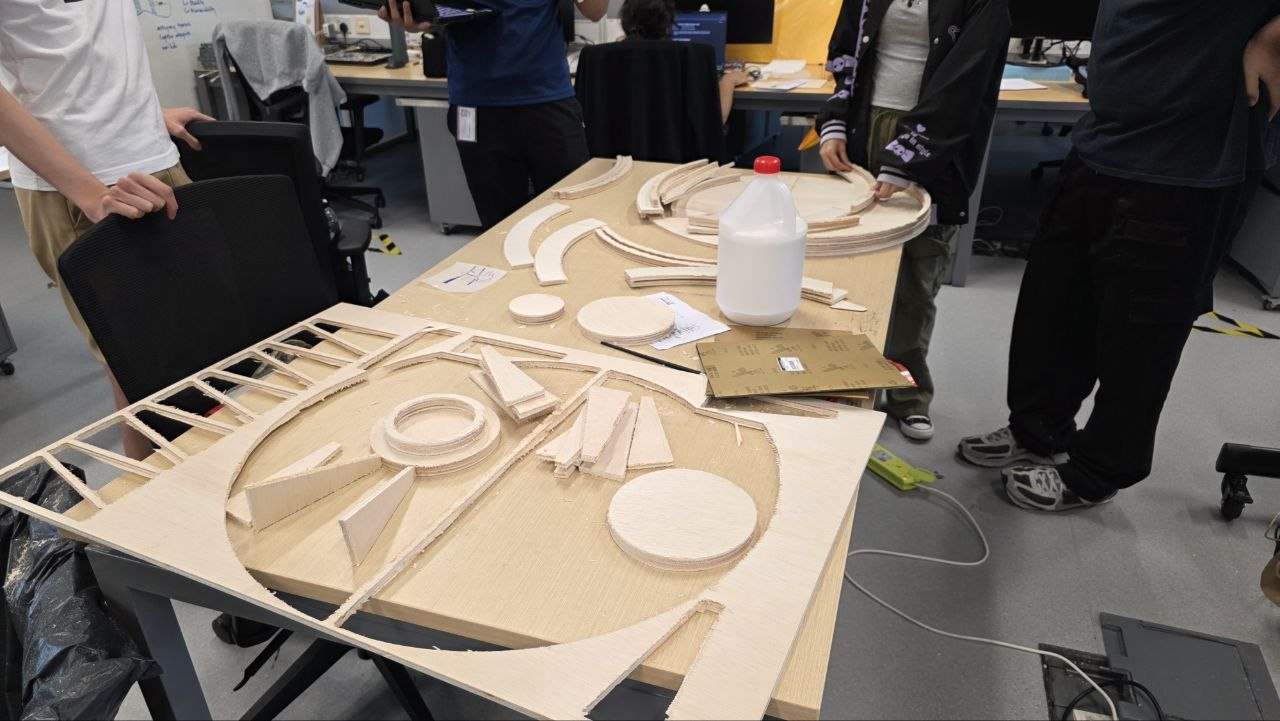
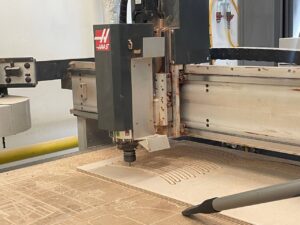
Our initial idea for prototyping the sound canopy was to use solid wood, however we were worried the result would give an less accurate version of our 3d model. Given the expense of solid wood, there was no room for errors, hence we decided to make our prototype by splitting the 3D model into 4 quadrants, and cutting layers of 10mm plywood boards with the CNC wood machine, then gluing the pieces together using wood glue.
However cutting resulted in fraying of the plywood so we had to sand down each piece for a smoother finish before gluing, and further sanding was needed to allow the pieces to fit together. Hence, we applied layers of wood varnish to the canopy to give it a more finished look.

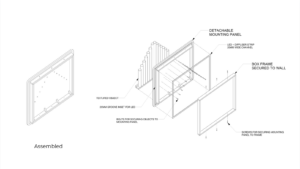
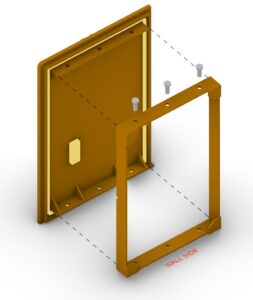
Assembling the Organ Pipes
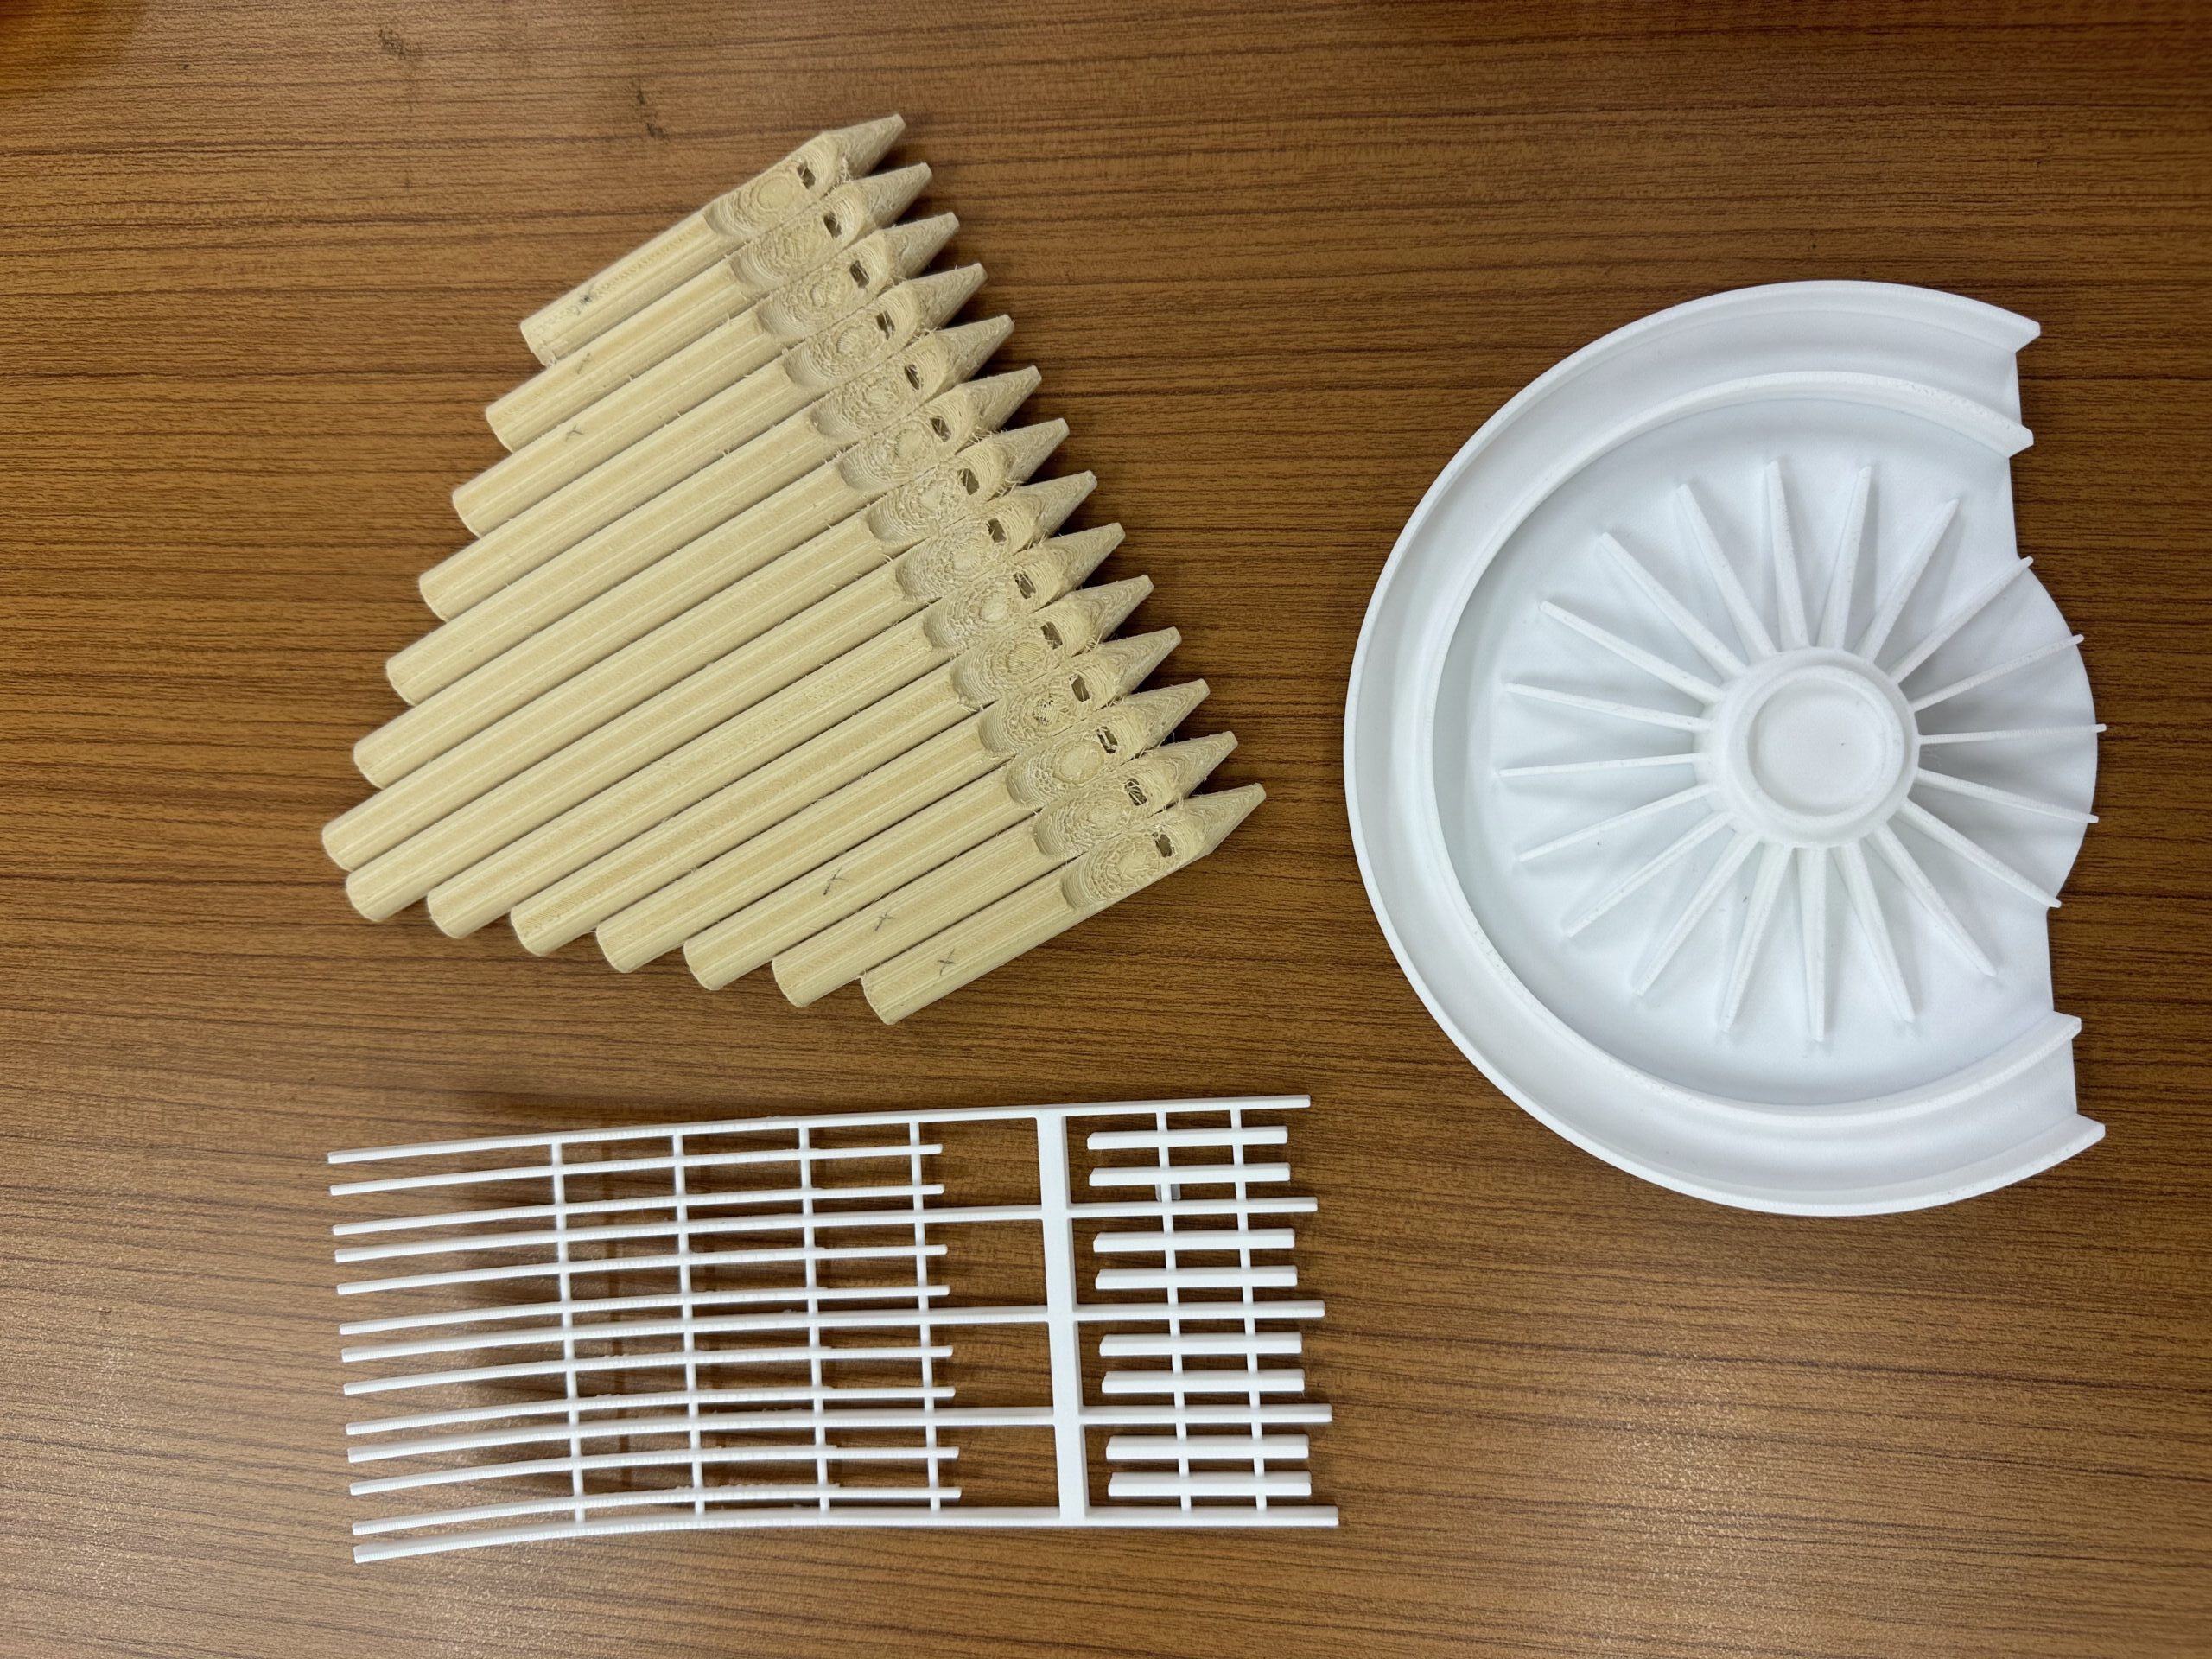
The assembly of the pipe organ module involves the fabrication of individual pipes using aluminium pipe bases. Each pipe component is constructed with careful consideration to reflect the form and feel of organ pipes while remaining safe and suitable for user interaction. The pipes are then arranged and aligned on a supporting structure to ensure consistency in spacing, rhythm, and overall visual coherence, while also providing the structural support needed to hold the module securely together.
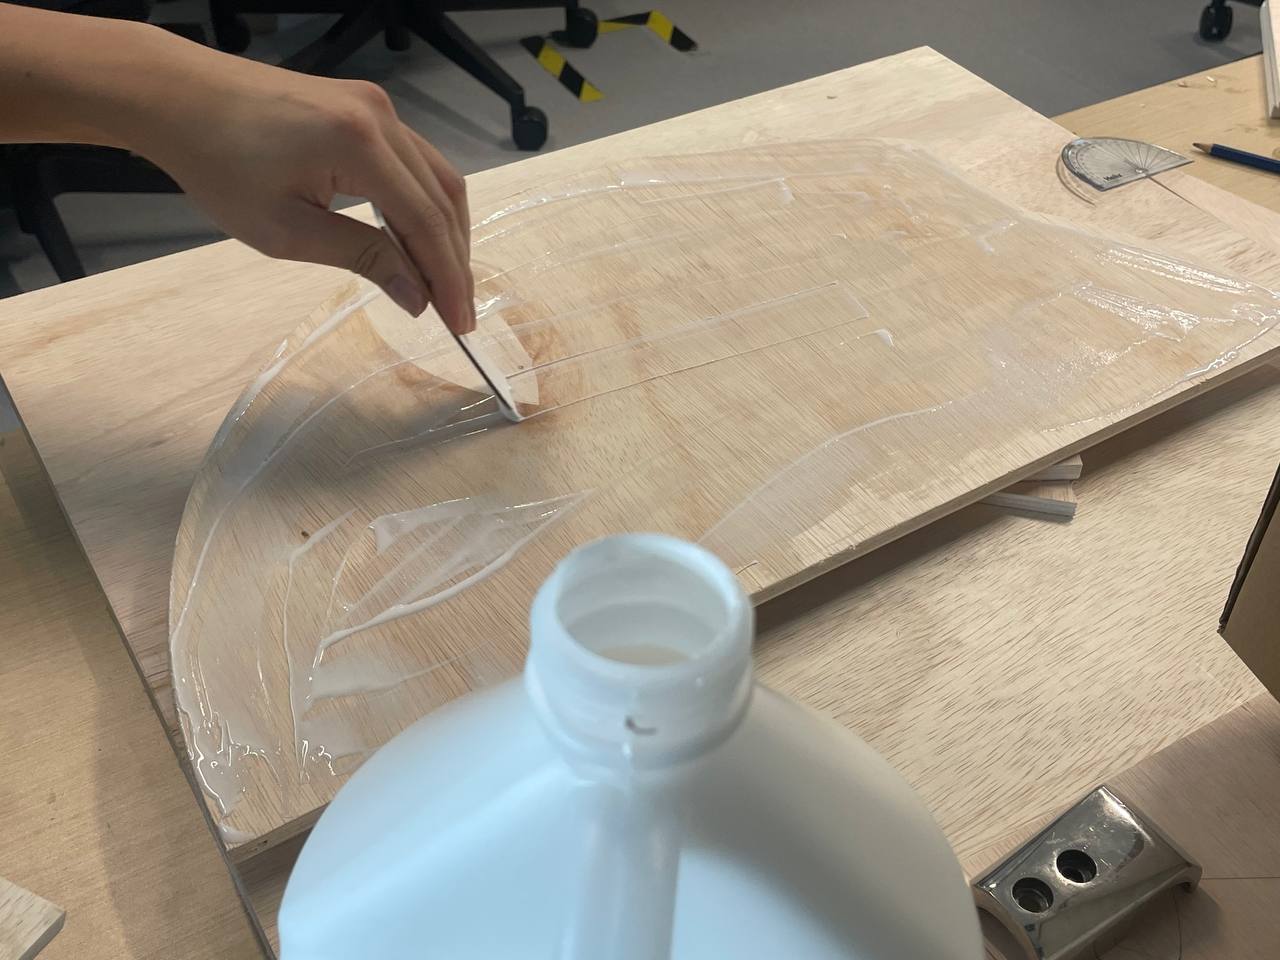
Assembling the Sound Canopy
Assembling the sound canopy was an interesting process. We first sanded the plywood before using wood glue to join the pieces together. The main challenge at this stage was uncertainty over how much sanding was required, and we were concerned about oversanding and removing more material than intended. Fortunately, with guidance from the FabLab staff, we managed to achieve a satisfactory finish. When piecing the layers together, we realised that some parts were uneven and did not join smoothly. To address this, we initially tried filling the gaps with wood putty, but it dried into a cakey texture that drew unwanted attention. Following the FabLab staff’s advice, we removed the putty by sanding it away and instead used a mixture of sawdust and super glue to fill the cracks. After sanding it down again, this produced a much smoother and more seamless finish. Next, we applied wood varnish and stain to the prototype. Here, we encountered difficulties with uneven drying, which created uncertainty about the appropriate amount of paint to use. Following the FabLab staff’s recommendation, we applied five coats and left the sound canopy prototype to dry overnight. An unexpected consequence was that the varnish hardened certain sections of the plywood, causing them to become stiff and sharp. To address this issue, the team proceeded to sand and smooth the affected edges before applying an additional layer of varnish to seal any areas exposed as a result of the sanding process.